As I am finishing our 2nd bathroom,
I am faced with several projects that need to get done
all at one time.
all at one time.
When the demo of the 1/2 bath begun,
our sink had a pink tiled backsplash
our sink had a pink tiled backsplash
(that I had primed and painted over...
and yes, you can paint tiles)
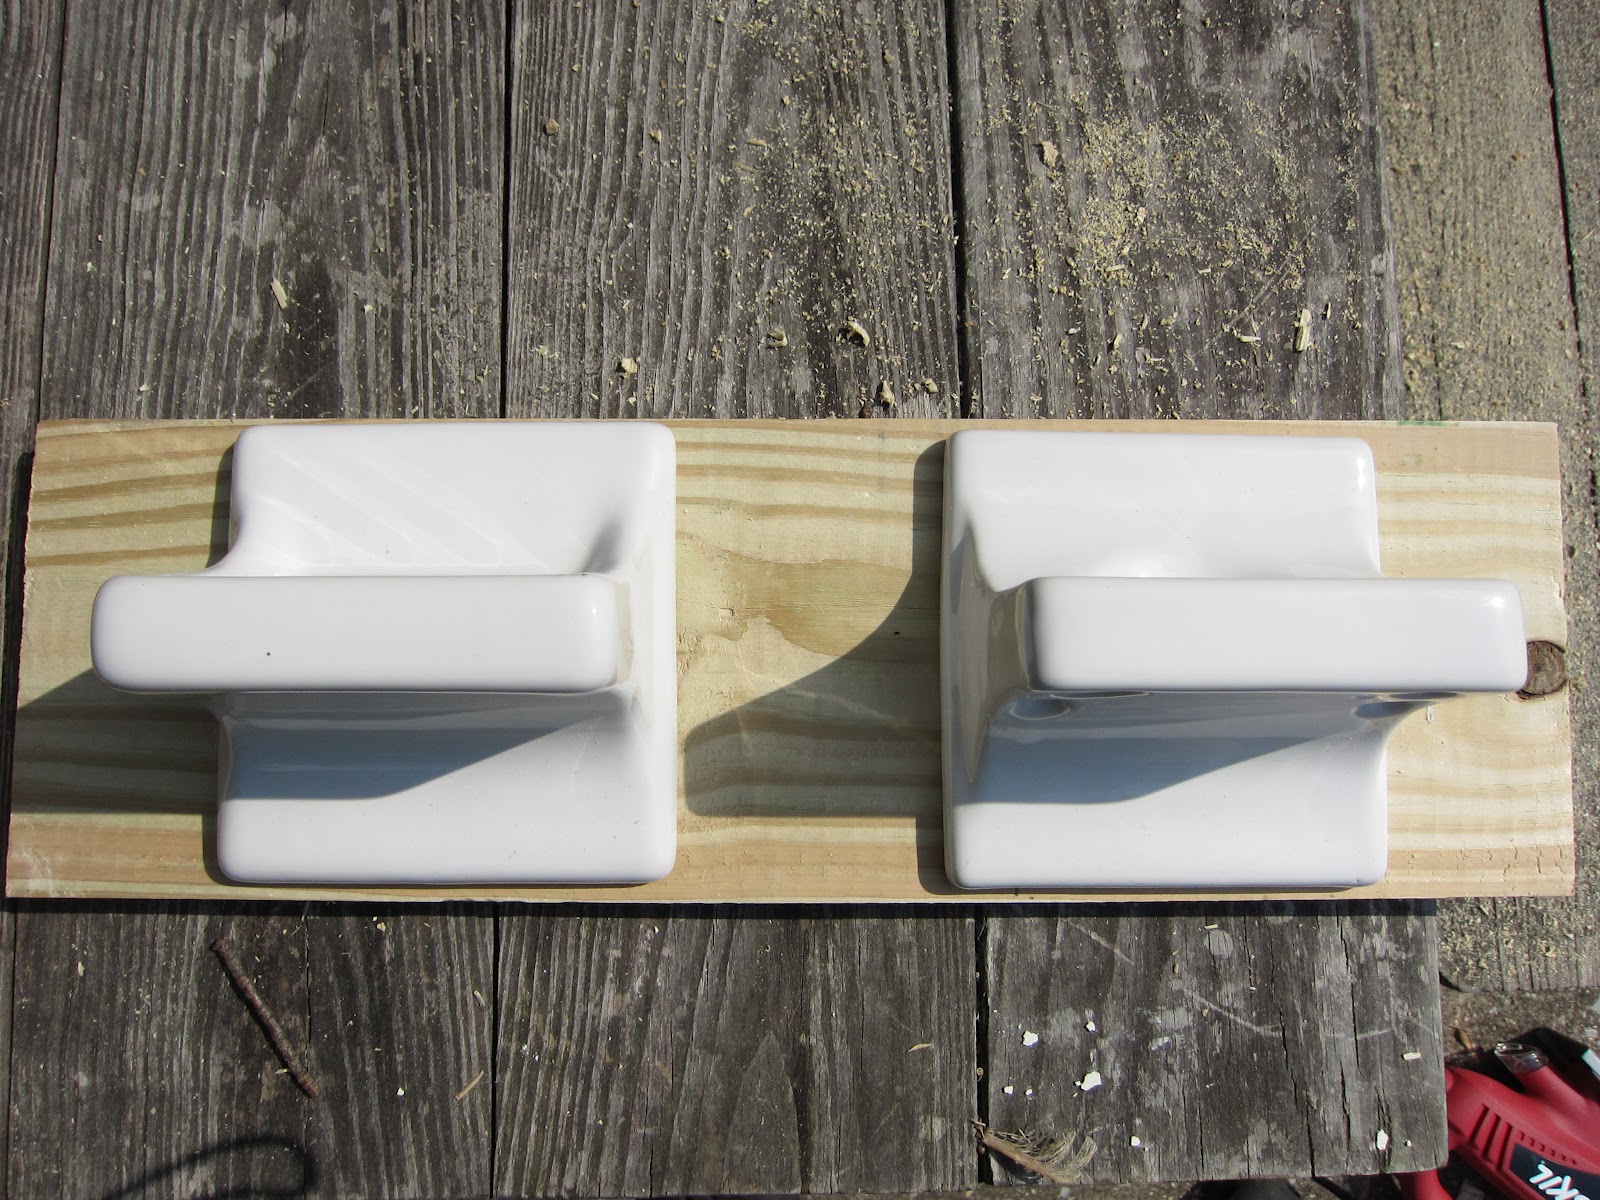
with this 2 porcelain accessories tiles...
or whatever you call it...
and yes, you can paint tiles)
with this 2 porcelain accessories tiles...
or whatever you call it...

I had no intention to keep the pink tiles nor the soap and toothbrush holder.
But the guy that was helping us with the demo said that I could sell those 2 "vintage" tiles,
because they are hard to find. $20 a piece.
Well, ok then!
I cleaned them out good and was ready to list it for sale, but a voice inside me kept telling me not to.
I thought maybe I could figure out something and reuse it in our bathroom.
The problem is that we are not having a tiled backsplash and the tiles would just stick out 1/4" from
the wall, looking funny.

the wall, looking funny.

So I looked through our wood pile, and found this piece of wood (3-4ft. long) that I bought for .50 cents at Home Depot, in the wood scrap bin.

Here is what I did
(fyi, I heart power tools)
(fyi, I heart power tools)
cut the wood down to the size I needed

measure where the tiles would go

drill 2 big holes on the inside of the squares, or you could drill 4 hole on the inside corners of each square

cut the squares out with a jigsaw

see how the tile now fits in the square?

sand, prime and paint

use liquid nails to attach the tiles to the wood
And ready to install!
Cost breakdown of the project:
wood .50 cents
tiles free
primer and paint already had from previous projects
total cost .50 cents
Stay Frugal,
Daniela
6 comments:
You can use power tools?! I'm impressed. I am a bit scared of them. I always let Jimmy do that sort of thing for me, but LOVE reading about girls using them and find myself thinking that I should really learn how. I love your idea of reusing those holders. Looking forward to seeing the big reveal!
I love your frugal ways for sure!~ You mentioned you never painted or spray painted glass. I turn my jars upside down, make sure you shake the can vigorously and spray from a distance, not too far and not too close or you risk the running. Let dry completely and you have yourself some pretty mason jars. Have a happy Weekend!
Glad you rescued them and were able to re-use them :) Laurel
Thanks for joining in on the newbie party. Enjoy!
Well done!!Hopping over from the newbie party XO
Can`t wait for the finish project. Visiting you from the newbie party.
Anne
Post a Comment